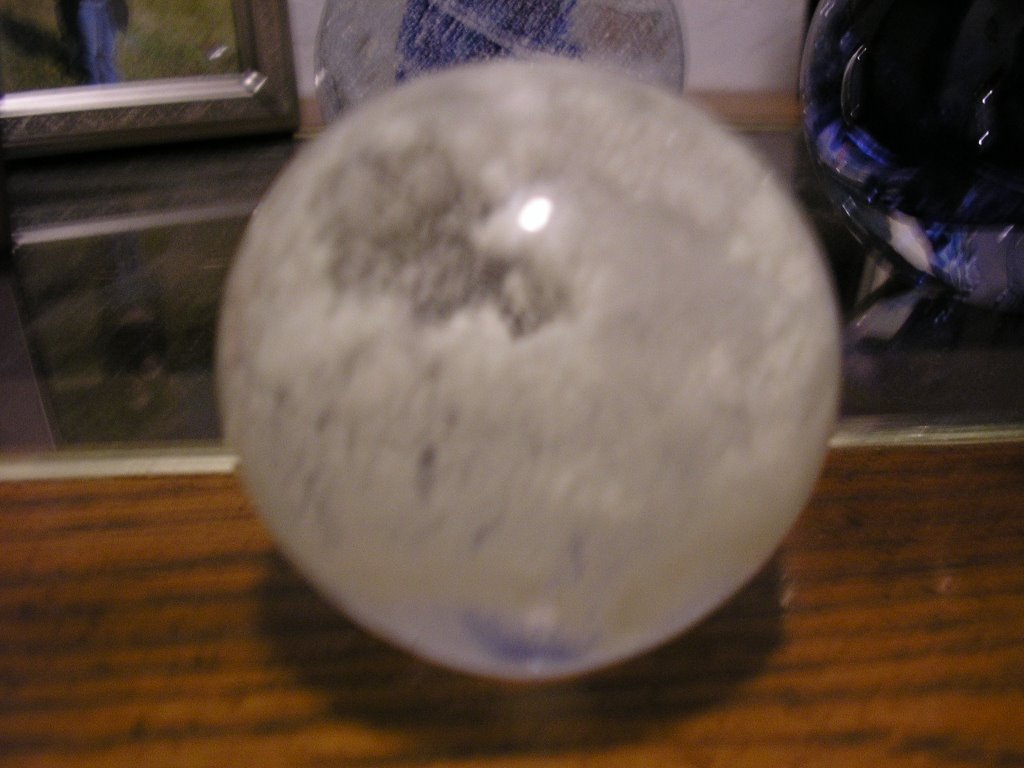
Had a question about the paperweights in the Febuary section of my blog, so here is how it is done. The paper weight is really easy to make. The core is just a gather with some frit melted down to make it somewhat solid. At this point you can do anything you want with the core to make it the way you want it to look. The outside is beach sand actually! It is from Pensacola, FL where I am from... LOL the funny thing is that is illegal to take the sand from the beach now. This came all about from Gnat when the hurricane came through and blew the sand up 11 stories to our parents condo. I decided to take some home when Gnat started to make the paper weights there in Florida. The guy here said that most likely the paper weight would crack if I placed the sand in it but he said go ahead and try. So I did and they survived. The spin in the paperweight is just an optic mold that after applying color or sand you just heat it up really good and place it into the mold. There are a few different ways that you can get the spin into the piece. Can you a block, marver, or use the diamond shears to spin the piece. In my opinion the easiest way is on the marver but a lot of people like to do it with a block. A little more advanced is the shears. Thus here are the steps in short:
1. Gather glass
2. Add color and reheat
3. Do what ever you want with the color to make the core the way you would like.
4. Gather again.
5. Add color again and reheat.
6. Heat it rippin hot and place into optic mold.
7. Reheat
8. Marve low to cool the section close to you then marve the top but don't go across the maver....marve in one spot you will see it start to spin.
9. Let cool and gather.
10. Block to desired shape and set jack line.
11. Cool piece and break it off.
12. Put it away.
You can place it into the optic mold as many times as you want it will give you many different looks to the piece. So have fun with it and try new things.
Sloth
Tuesday, May 09, 2006
Monday, May 08, 2006
Past Weekend
First things first...
This past weekend started off well. Friday night I got to make two small pieces due to no one showing up for the demo and Patrick the shop owner let me just play around. Thus I made Bonnie the apple that she has been buggin me to make for the past two times at the shop. It turned out quite well I was surprised. I also made a glow snot ornament. Which broke like all the others that I have made for some reason. Will post some picture when I find the camera again. Saturday was good will go into what I made when posting pictures. Now for Sunday started off good but ended in disaster. I got to find out how to crackle a piece like I want. I tried it 1 time and it turned out somewhat like a wanted but for some reason the cracks only went vertically no horizontal. This was very strange to me and Patrick which had never seen it do that before. That piece got dropped due to everyone telling me that my jack line was not off the pipe and I insisted that it was but due to being somewhat new I heated the crap out of it and jacked it about an inch from where it was. Then next thing I know when I heated it up for about the 3rd time after that it snapped off right at the pipe. And of course it was right where my jack line used to be thus I was off the pipe. The piece was so big that I could not heat the neck enough to keep it hot and the weight of the piece just snapped it off in the glory hole. It then could not be saved due to having to grab it with the pipe and chunking it into the shop so that it did not weld itself to the wall of the glory hole. The next one that I tried was a crackle again and I guess that I placed too much of the white powder on the outside so when I put in the water it did not crackle very well. I blew it out and then gathered over it really quick and it all went away. So I decided that I had some good pieces this weekend so I was going thin really thin. I got it to about 1/16 of an inch and it was everywhere and I was having fun. Spun it out almost flat and then fluted it. I went to pop it off and bam the whole bottom came off in one piece. The funny thing about it was that the bottom was about 8 inches around and it broke in a complete circle. Well I still have not got pieces from the shop so when I get them and find the camera I will post again. Till the "gravity is your friend and keep it hot..."
Sloth
Friday, May 05, 2006
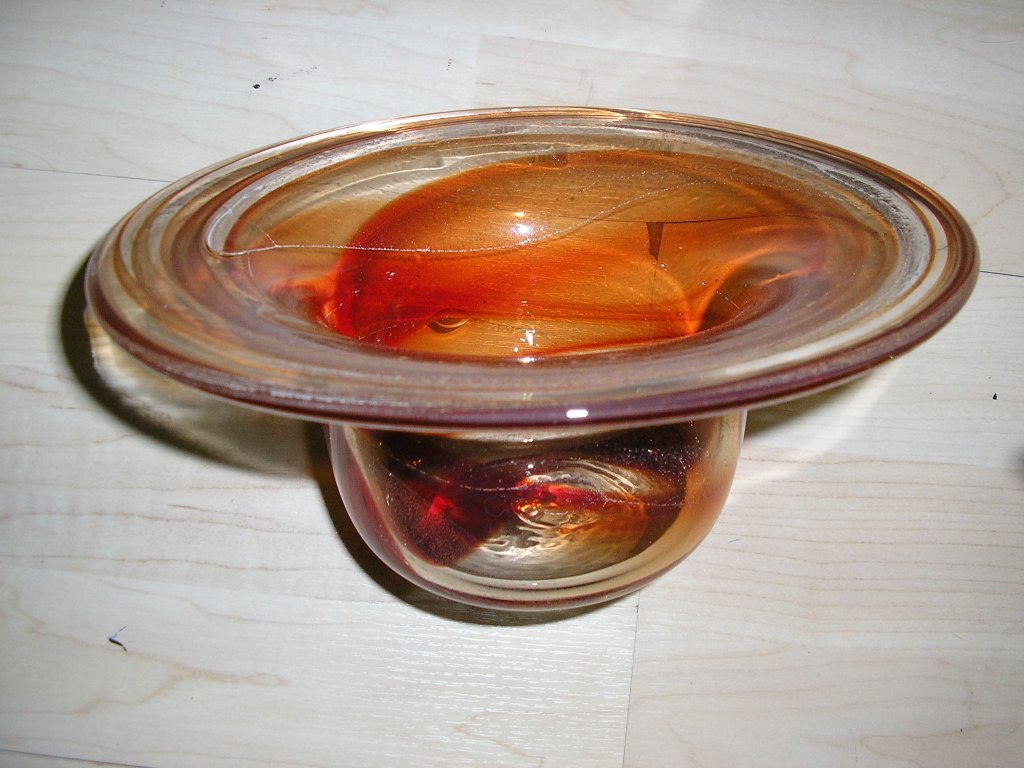
One of the guys at the shop wanted to see how well it applied to a piece due to him never seeing nor working with the stuff. After messing with the glow snot for most of the day I decided to make one last one. A bowl with a glow lip wrap just to see how it would do when at a smaller scale.


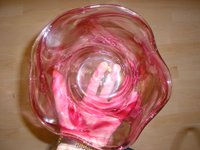
This one was a bright blue lip wrap with a red inside. Now how this bowl ended up this was is strange due to when I put into the Lear it was fine. I asked the guy at the shop about the red that I used to make the piece and the first words from his mouth were "where did you get that color from" I pointed over to a box on the table where he told me that I could pick some colors out. He walked over there and there was one little piece left of the same red and he picked it up and threw it in the garbage. Then he stated that he thought all that red was gone and the reason was unknown why the red did not like the clear but he had used it a few times and it did the same thing and the pieces are still around and have not completely fallen apart. But I would have to say it is neat to look at that is for sure.
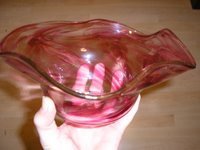
Here was the last piece of the day. Just an easy fluted bowl with fuchsia as the color. All I was doing here is to get something done and work on my bubble depth into the piece.
Now for some Glow Snot....
 OK for the glow snot this is one of the first attempts for me at the shop using this stuff. It does not want to stick to the glass it is what I have also named moon dust. But as you can see below it does glow pretty well. Gnat has made a few pieces out of the same stuff and was told that the dust does not work as well as the frit! I don't know if this is true due to him not posting what he is now using for the glow snot he is making.
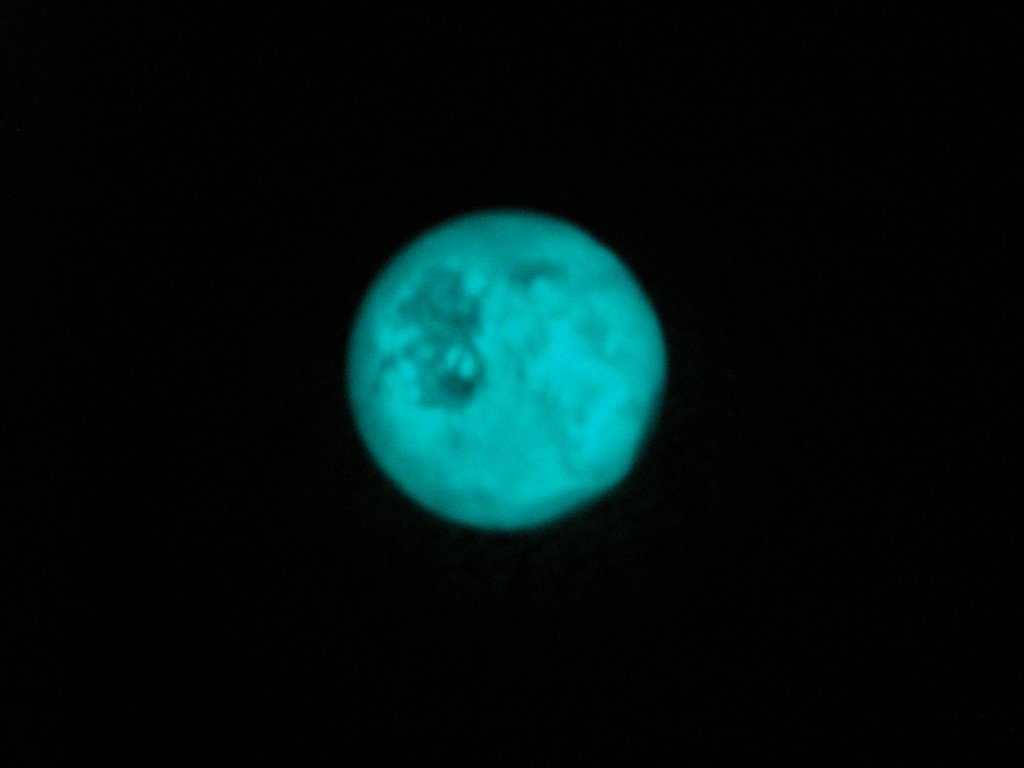

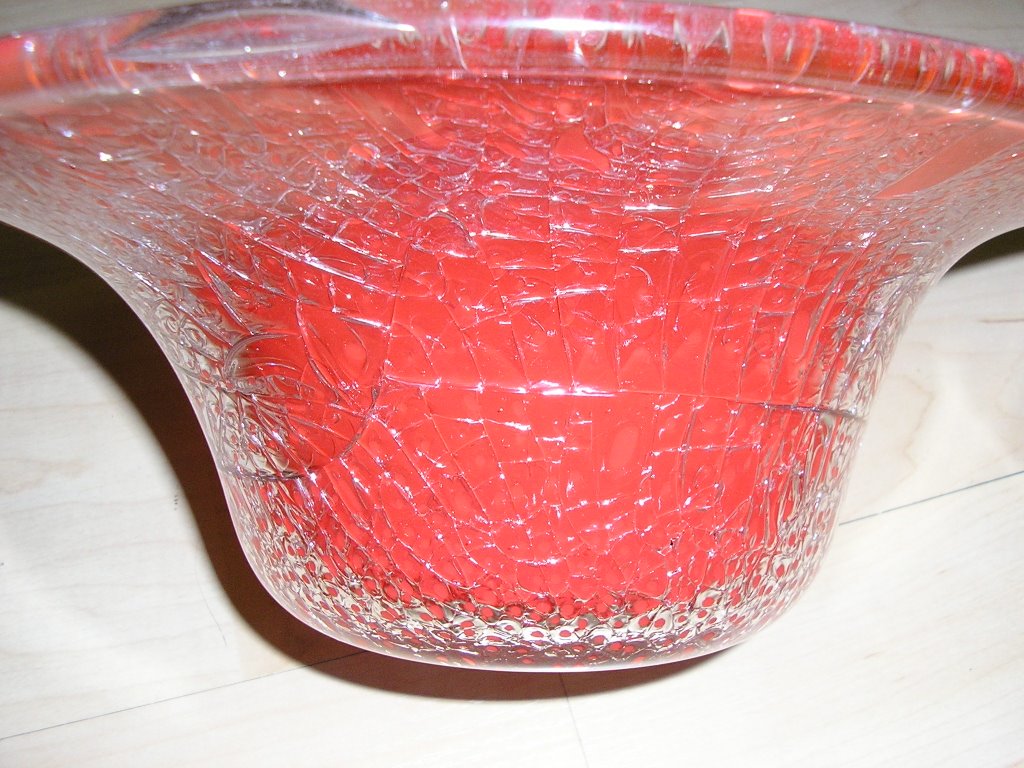
Here was my attempt at placing the Glow Snot into a bowl. I got all the colors that I wanted into the piece then slammed it into the optic mold. Then placed a bit of the orange glow snot in the depressions of the star optic. The bit was a pain in the butt due to it not wanting to stick to the glass .... Like the name state it is like snot and just slides off the piece. After blowing it out it does not seem to work very well maybe I should have placed more into the bit. I tried to take a picture of the glowing in the dark but it is so little that it does not show up in the picture.


Ok here is an ornament that I attempted to make but it broke. I took it home just to see how it glows. It is neat, this was the purple glow snot that is on the left. Then I made a mug with the orange again to see if it would be brighter than the last time. I loaded this piece up with Glow snot and ......Well it does not glow for crap. It takes all day to charge the piece and it glows for about an hour maybe and when it does glow it is not really that bright. I am interested to see if the frit does a better job.
Ok Newer Stuff...

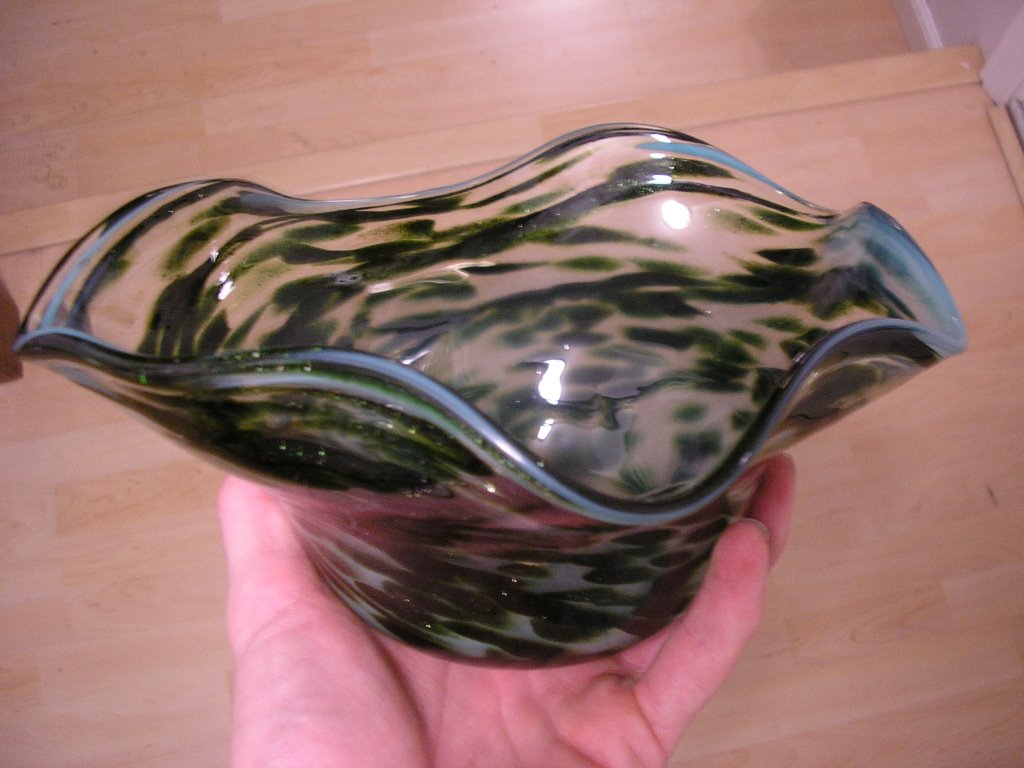
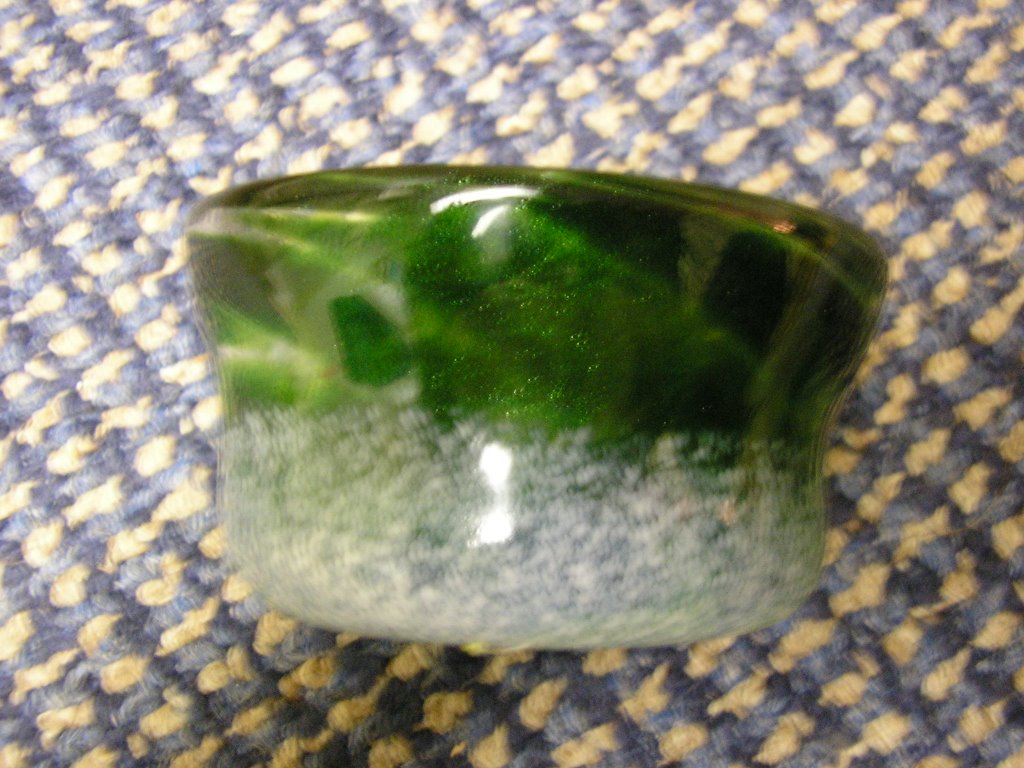
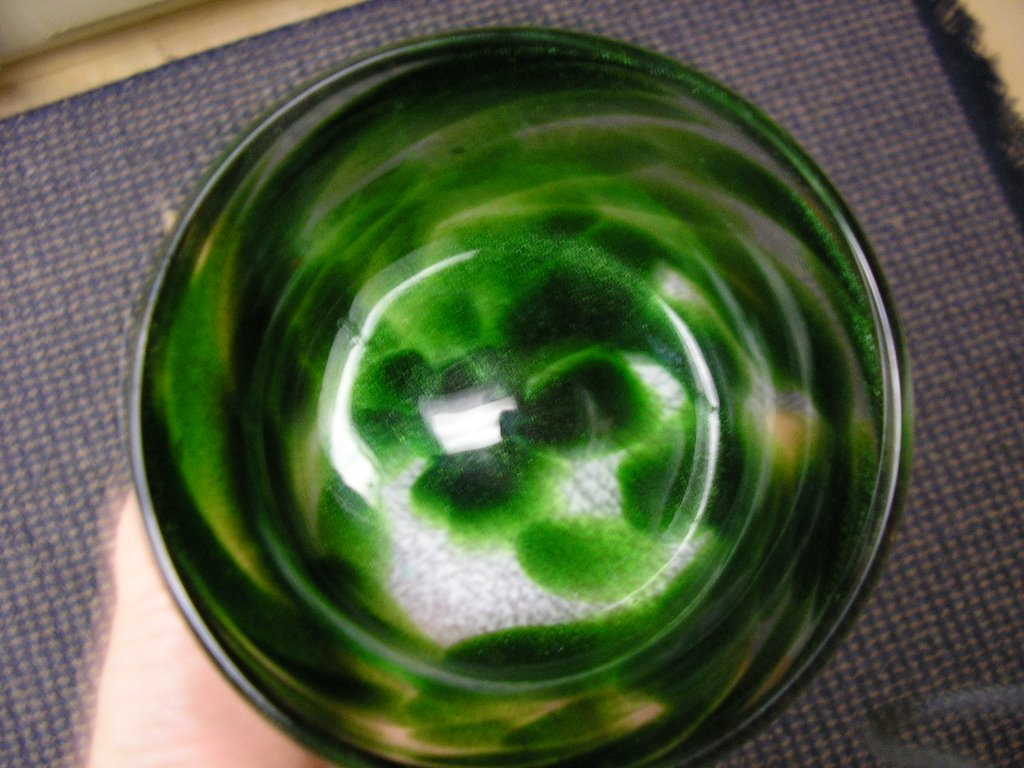
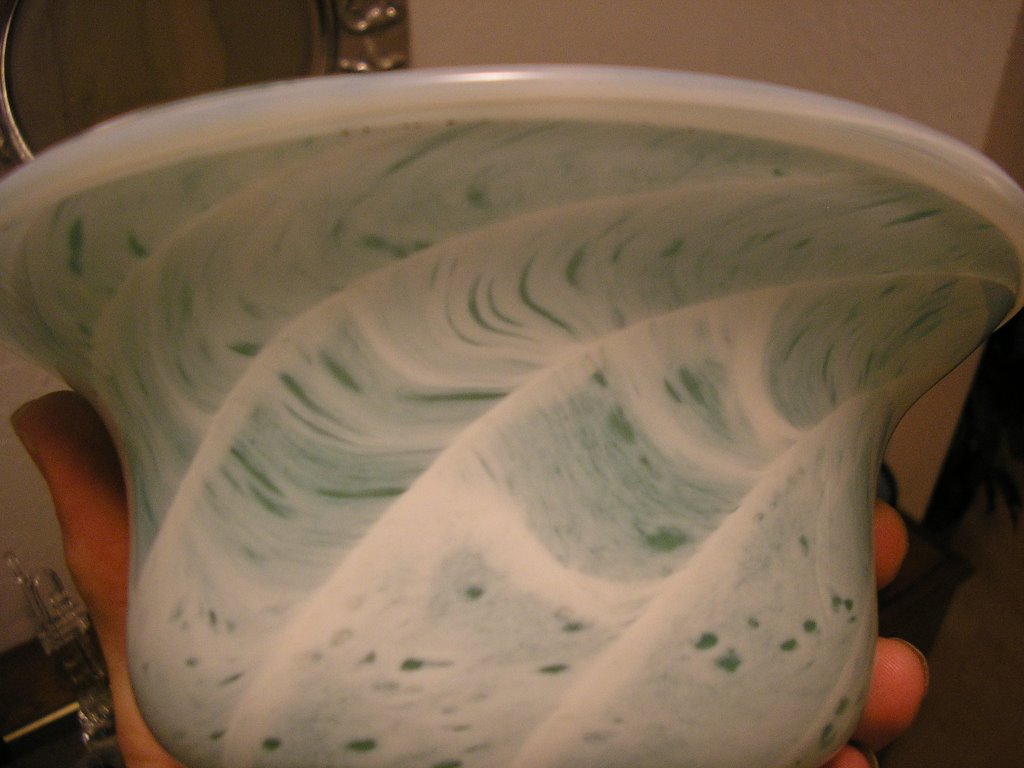
Here is a fluted bowl that was made, the inside did not show up as well I wanted but it is nice. I don't remember what the inside was but the frit is adventurin green.

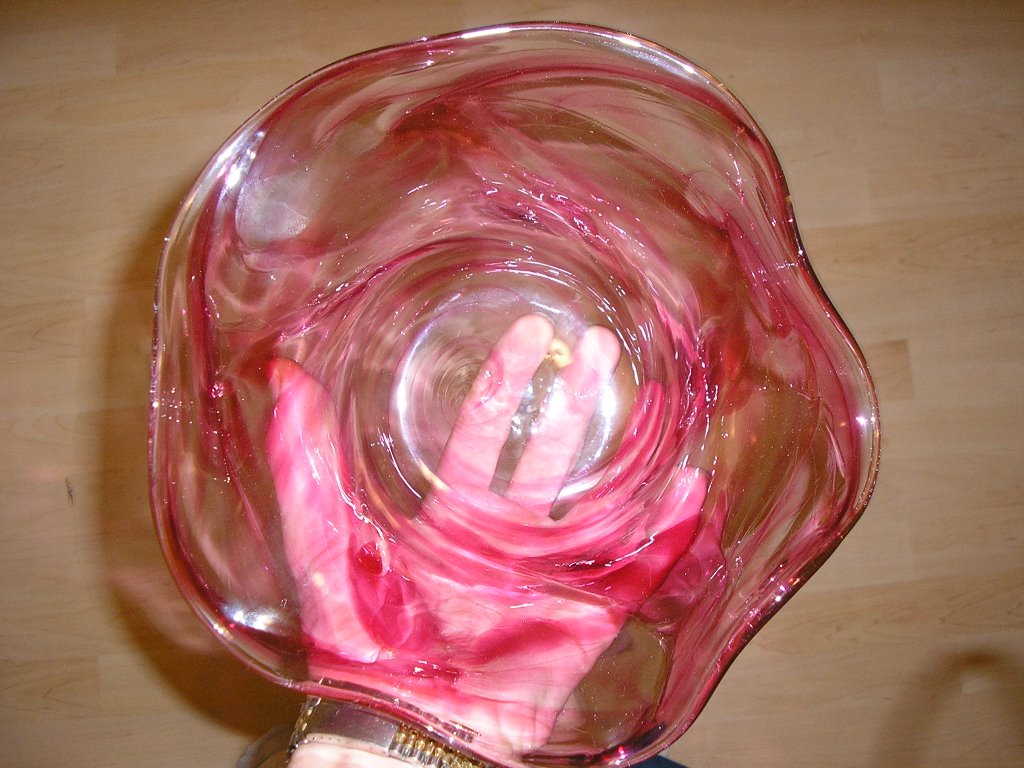
This is another fluted bowl, the picture is a little off color. But the inside is a light pink with olive green on the outside. It came out well besides what everyone one was thinking. Everyone that saw me make the piece was like those two colors are not going to look well together but..... It turned out pretty nice.
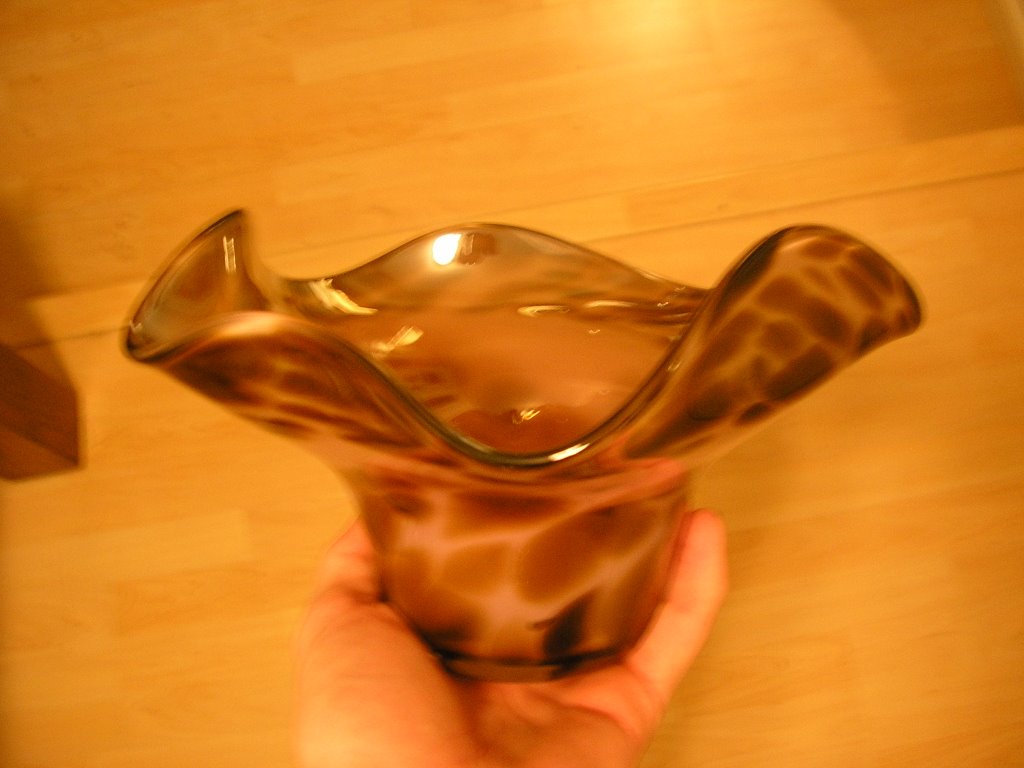
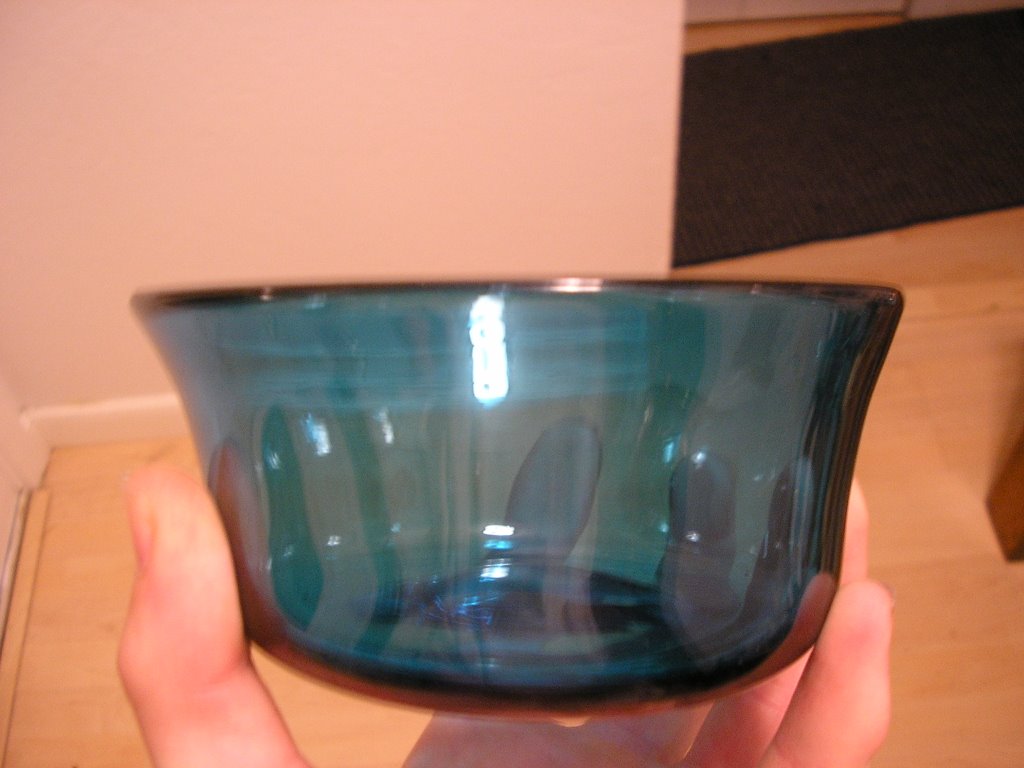
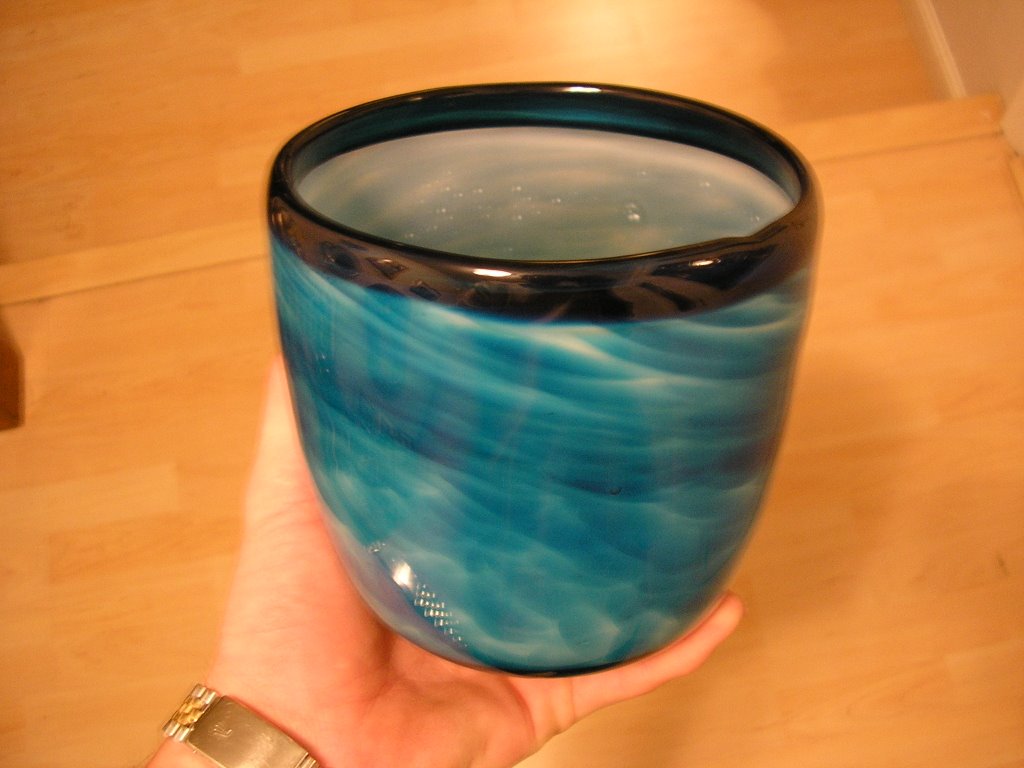 This is a favorite of mine also of the newest pieces that I have made it was made by using a white bar stock and then turquoise on the out side with a dark turquoise lip wrap.
A little Bit of time
Ok lets see what I can crank out here really quick due to have glass this weekend and having a ton of stuff to post!!!
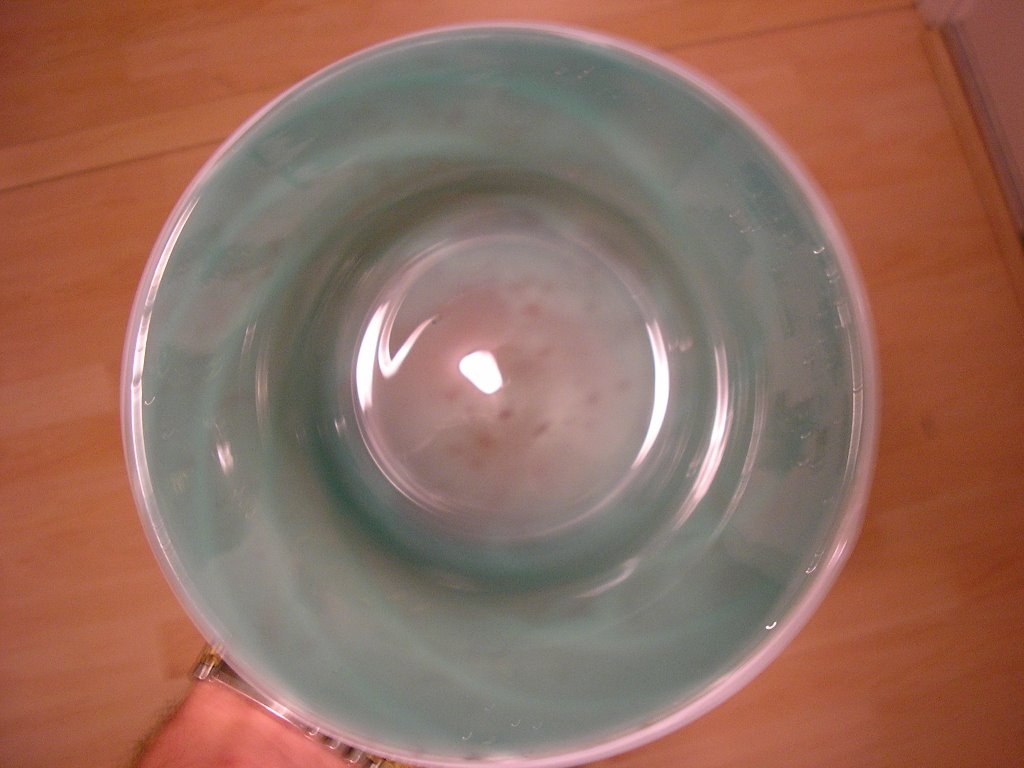
Here we go ..... These are two bowls that I made they are not really big but they do what they are made for, which is a small quick bowl of cereal. The first one here is adventurian green on the inside and a little white on the bottom outside to give it a little contrast.
This one is also a small bowl but it was my first attempt at ever using a piece of bar stock. I was a little scare to do this due to watching many people do it incorrectly and watching them shocking the piece and dropping it into the furnace.
This one is one of my favorite pieces. It is not all that big but it is what I was shooting for when I made it. Don't ask what the color is on the inside due to it was a piece of stock just laying around the shop that I picked up and used. Ok this post has to be somewhat close to a big post will do more here soon.
Sloth
Subscribe to:
Posts (Atom)
